The final tool rests on the workbench, the drop cloths come up, and the room looks complete. It isn’t. Major additions leave behind an invasive, invisible nuisance that lingers long after work crews pack up. Fine construction dust settles into closed wardrobes, coats walls in a stubborn chalky film, and rides gentle drafts into living spaces far from the work zone. Even when reputable custom builders take precautions and seal doorways with heavy polythene sheeting, microscopic gypsum and masonry particles find paths through timber floorboards, electrical cutouts, and ceiling cavities.
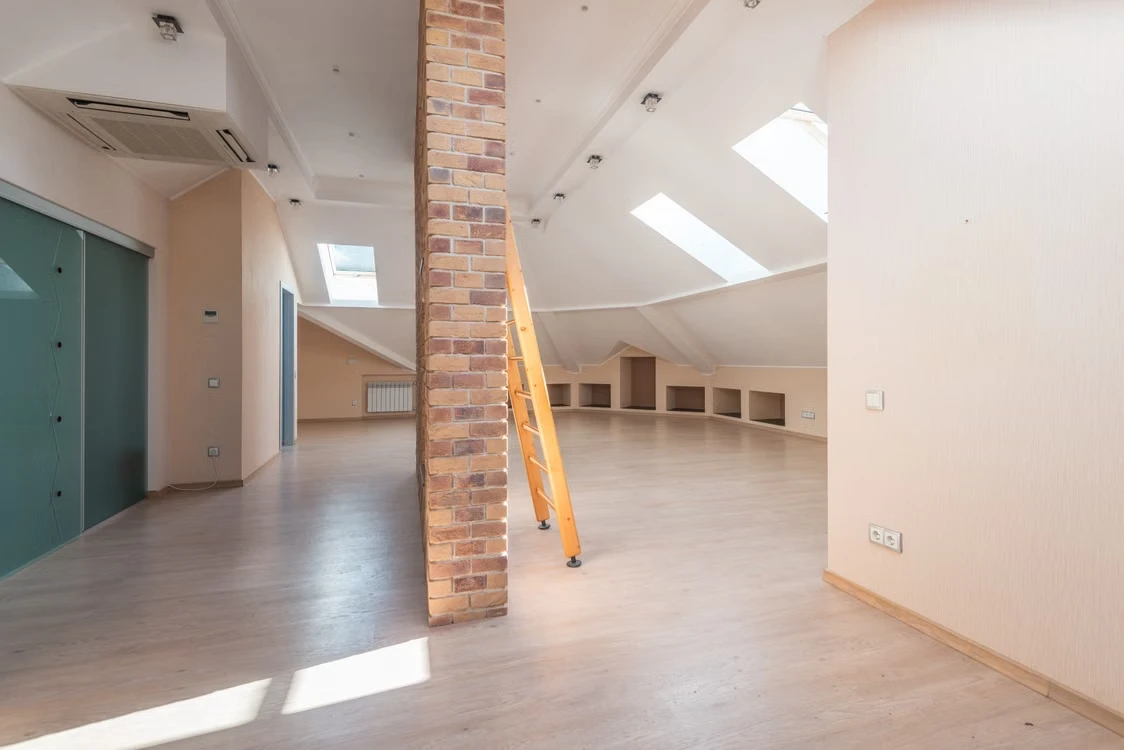
Drywall joint compound and masonry cutting produce particles measuring under 2.5 microns across. A single human strand of hair is roughly 70 microns thick. Dust that fine acts almost like a gas. It hangs in the air for hours, drifting across rooms and easily bypassing standard household brooms. Attempting to vacuum or scrub the space without a methodical strategy just sends those clouds swirling again, resetting the entire mess.
Isolate the Atmosphere Before Touching a Broom
Grabbing a standard household broom right away is the fastest path to regret. Stiff broom bristles sweep up wood offcuts and drywall chunks, but they launch billions of microscopic plaster specks back into the air. Once airborne, those tiny particles take twelve hours to settle onto surfaces again. Keep the addition physically isolated from the rest of the house during the initial cleanup phase. Close all connecting interior doors, and tape down painter plastic across any door frames that lack working doors.
Air currents require deliberate management before starting any physical cleanup. Turn off the central heating and air conditioning immediately. Forced-air systems pull fine plaster grit straight into return grilles, coating internal ductwork and baking sticky dust onto cooling coils. Once inside the main duct channels, every cycle of the blower fan disperses that fine grit into distant bedrooms. Seal every return vent and supply register inside the renovated wing with heavy plastic sheeting and low-tack painter tape.
Establishing negative air pressure keeps stubborn particles from wandering into furnished spaces. Place a standard box fan on a windowsill inside the renovated addition, directing the airflow straight outside. Seal the remaining open window frame with cardboard and masking tape. Crack open another window slightly on the opposite side of the room to pull in fresh outdoor air. This setup creates a consistent draft that vents floating dust directly outside rather than letting it drift into the main hallway.
The Mechanics of Top Down Dust Removal
Gravity always wins, so let physics do the heavy lifting. Never start cleaning at the floor. Plaster dust sticks to vertical walls, ceiling cornices, light fittings, and door heads through simple static electricity. If floors are vacuumed and mopped first, wiping down a chandelier an hour later leaves those freshly cleaned boards covered in a fresh layer of white powder. Work systematically from the highest physical point in the room down to the skirting boards.
Dry dust capture must always happen before introducing wet mops or damp rags. Adding water directly to dry plaster dust turns it into a sticky paste that works deep into wall paint pores and timber grain. Use dry, electrostatically charged microfiber cloths on walls and ceilings first. Avoid slapping or shaking dirty cloths inside the room. Instead, swap out microfiber pads frequently, placing soiled pads directly into a bucket of water set outside the home.
Standard domestic vacuum cleaners cannot handle fine construction residue. Typical household vacuum units lack completely sealed filter housings, meaning the exhaust stream blows ultra-fine plaster dust straight back into the room. The space smells hot, and the air turns hazy. Use a dedicated workshop vacuum equipped with a two-stage filter: an internal fleece collection bag combined with an independently certified HEPA exhaust cartridge.
For busy homeowners tackling substantial property updates or facing strict move-in dates, handling this level of remediation solo can feel overwhelming. In dense, picturesque suburbs where terraced architecture and coastal humidity make ventilation tricky, bringing in seasoned post-construction specialists like commercial cleaning Cremorne ensures that industrial negative-air scrubbers and commercial rotary extractors eliminate stubborn particulates safely. Experienced professionals know how to clean raw joinery, delicate cornices, and fresh floor finishes without scratching surfaces or dulling fresh paint.
Clearing Hidden Catchments and Managing the Secondary Settle
Horizontal ledges hide surprising amounts of construction grit that escape routine surface sweeps. The tops of interior door frames, recessed light trims, window sill tracks, and kitchen cabinet hardware act as collection shelves. Pull open newly fitted cabinetry and run a thin crevice nozzle along the internal drawer runners. If abrasive dust sits inside metal drawer glides, opening and closing the drawers grinds down the ball bearings and shakes fine grit into stored pots and pans.
Soft furnishings and window treatments absorb airborne dust like oversized filters. If curtains, rugs, or fabric chairs remained anywhere near the perimeter of the project, vacuum them thoroughly using an upholstery tool fitted with a true HEPA filter. Taking movable rugs and cushions outdoors for a thorough manual beating often loosens deep-seated grit that vacuum suction alone leaves behind.
Even with thorough cleaning, prepare for a secondary settle. The physics of particle suspension mean the lightest airborne particulates take twenty-four to forty-eight hours to drop out of still air. Plan for a light, secondary wipe-down two days after the initial deep scrub. Use clean microfiber cloths lightly dampened with warm water and a splash of white vinegar to lift that final milky film from window glass, mirror edges, and polished floors. Slide a fresh filter into the central HVAC unit once that final pass is done, and the home will feel genuinely fresh.
©2026 The Dedicated House. All rights reserved. No part of this blog post may be used or reproduced without the written consent of the copyright owner.
Click the links below for any posts you have missed:
 Designing a Restorative Nursery and Postpartum Haven at Home
 Before You Sign: A Homeowner’s Contractor Red Flags Checklist
 The First 48 Hours After Property Damage: What Homeowners Should Do
 Keeping Pests Out During a Home Renovation
 What Heavy Rain Can Reveal About Your Home’s Drainage and Foundation
 How to Bring More Nature into Your Home
I’d love for you to join my email list! You’ll receive a notification straight to your inbox which will include links to my latest home project posts! Simply enter your address below.
Thanks for stopping by! Have a wonderful day/night depending on where you are in the world! Go with God and remember to be kind to one another!
Toodles,

Leave a Reply